
Report Preview, Print and Save Options
This help file reviews how to preview, print, and save reports, posting registers, and lists. The steps include how to save as a PDF file or save as an Excel/csv file (if available).
Preview Report - Open from Dashboard
- Make your report selections
- Click PROCESS

- An informational prompt will appear noting "Report Submitted for Processing". Click OK.
- Go to the dashboard
- When the STATUS column shows COMPLETED, click the link with the report name
- The report will open on the screen

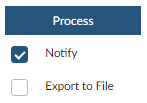
Preview Report - Notify When Complete
- Make your report selections
- Click the NOTIFY checkbox then click PROCESS
- An informational prompt will appear noting "Report Submitted for Processing". Click OK.
- When the report is completed, a prompt will appear noting "Report has been processed. Would you like to review the XXREPORT NAMEXX?

- Click YES to open the report in a new internet browser tab

- If you click NO, you can go to the dashboard to open the completed report.
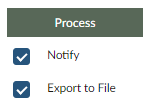
Create Export File - Open from Dashboard
If the report is able to generate an Excel export file, the Export to File checkbox will be shown on the report selection page.
- Make your report selections
- Click the EXPORT TO FILE checkbox then click PROCESS
- An informational prompt will appear noting "Report Submitted for Processing". Click OK.
- Go to the dashboard
- When the STATUS column shows COMPLETED, the first column will show a paperclip
- Click the paperclip to download and save the file to your computer

Report Options
Once the report is opened, the following options will be available. This example is using Microsoft Edge internet browser.

- Highlight: highlight text throughout the report
- Eraser: remove highlights
- Zoom: click the minus sign to make the report view smaller/click the plus sign to make the report view larger
- Fit to Width: click once to make the report width fit the screen width
- Page Navigation: in the open field, type the page number you want to jump to, i.e., type 3 press tab
- TIP: Press and hold the CTRL key on your keyboard, tap the END key to quickly go to the last page of the report
- Search: search the report for key words or numbers
- Print: print the report
- Save: save an electronic copy of the report
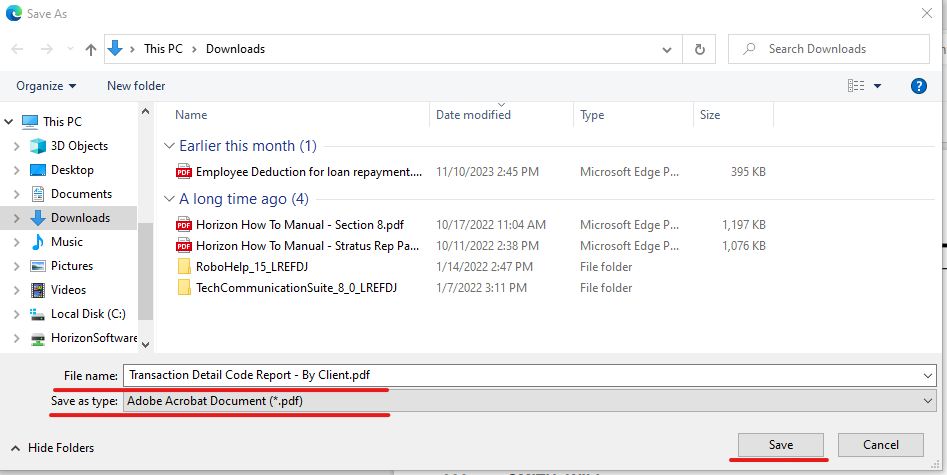
Save a PDF File
Follow the steps below to save an electronic copy instead of printing. This will allow you to quickly and easily find records for audits, employees, etc. Make sure to create a folder structure that you can find your reports later.
 Be sure not to save files to your desktop - these files are not included in system backups. Make sure where you save your files has regular back-up files and can be restored in the event of a disaster or computer issue.
- Click the SAVE button
- The SAVE AS dialog box will appear
- File Location: Navigate to the location on your computer where you want to save the file
- File Name: name the file so you know what it is later; the default name will be the report name
- Save as Type: make sure the type PDF Document (*.pdf) is selected
- Click SAVE
Print Report
When the report generates:
- Click the PRINT button to open the print dialog box
- Select the printer and any print options, i.e., two copies
- Click the PRINT button to send to the printer
11/2023