![]()
![]()
Created: 04/30/2012
Go to Reports>>Horizon Custom Reporting>>Edit Layout button
The Edit Layout/Report Template area is shown after the Project Wizard is closed or an existing report is opened. This program is used to enter titles and select variables for the report template
To view information on the Project Wizard, click here.
Report and design options are available from the menus at the top of the view under File, Edit, Project, Objects and View. Some of the design options are also available from icons shown at the top and left side of the view. Variables are available on the right side of the view.
The file path where the report template will be saved is displayed on the top bar of the view as shown below. If you are getting an error when you try to save a template, follow the path and make sure all of the folders are where they are listed. Add folders if they are missing from the displayed path.
See sample below.
![]()
After the Project Wizard is closed the report template will look something like this:
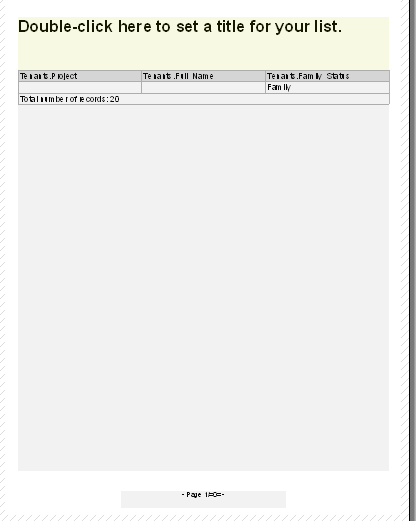
Columns should be resized if they are too small or do not cover the entire document. If you need to change the document's paper orientation go to Project>>Page Setup. On the left side find Paper Size>>Orientation and select either Portrait or Landscape and then click OK.
Double-click anywhere on this area to open a Paragraph Properties dialog box. The Edit Text dialog box can be opened and the text edited by double-clicking the words in the window or highlighting them and clicking the Edit Paragraph icon above the window shown below:
![]()
Text may be edited in the window shown at the bottom. Text must be enclosed in quote marks, for example "text", or there will be an error and the text will not save.
Text can also be added by clicking the Text tab. Enter the text and click the Insert button.
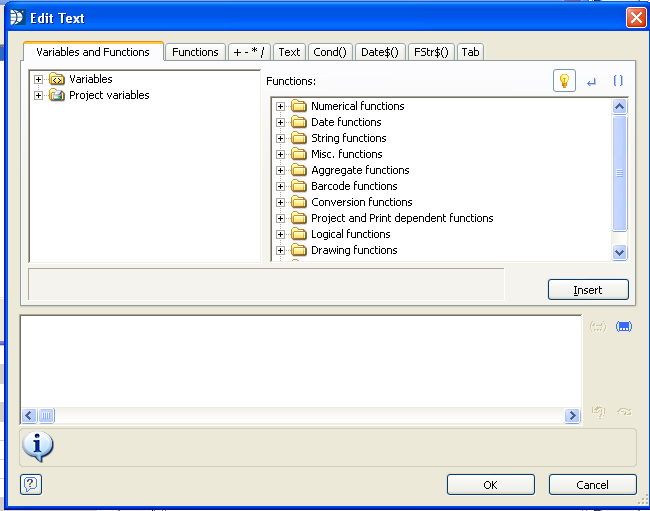
Text can only be formatted for an entire highlighted line and is done using font, alignment and other areas on the left side of the Edit Text dialog box.
After closing the Edit Text dialog box, formatting options are displayed above the text window.
Double-click on a column header to bring up the Table Contents dialog box. Open the "Header Line" tab.
Double-click on any of the displayed headings to open the Edit Text dialog box. Edit the text between the quote marks and click OK.
Formatting of the Headers can be done using the properties shown on the left such as Font and Alignment.
When you double-click the column headers you can also edit the Data Line tab. These are the variables that pull the information for the report. Variables can be replaced by other variables by double-clicking to open the Edit Table dialog box. Highlight the variable shown in the window and then select another variable under the Variables>>Fields folder to replace/overwrite it.
A Column can be added to an existing report by double-clicking on the table (anywhere except the total column) to open Table Contents. The Header Line and the Data Line must be added separately. On either the Header tab or the Data tab, highlight an existing line and then click the Append Column (Ins) icon ![]() to open the Edit Table dialog box. Open the Fields folder and then the folder with the variables (Tenants, Members or Vehicles). Double-click on a variable. The variable should show in the window. Click OK to close Edit Table. Repeat for either the Header or Data tab. Use the arrow icons to move the inserted variable into the correct position.
to open the Edit Table dialog box. Open the Fields folder and then the folder with the variables (Tenants, Members or Vehicles). Double-click on a variable. The variable should show in the window. Click OK to close Edit Table. Repeat for either the Header or Data tab. Use the arrow icons to move the inserted variable into the correct position.
When you close, remember to Save.